Embed Audio in Your Blog

Embed audio in your blog using Reverb Record. Your audio appears in your blog in a player and you don’t need to do any custom coding or have coding experience.

Embedding is even faster than reading this guide and is extremely intuitive. This works for any blog, any CMS (content management system), and any website.

Embed audio in your blog
Record audio

Step 1: Record audio

Go to the Reverb Record website. Click the microphone to start recording. There’s no sign-up or registration required so you can record right away. You can record any type of audio.

You can record voice, music, sounds, songs, melodies, article recordings, micro podcasts, voice notes, voice memos, and all other types of audio.

The audio gets automatically saved as an MP3 and lives in the cloud. This means you don’t need to save anything yourself and you don’t need to host the audio yourself when you embed it in your blog.

Step 2: Title audio

Give your audio an awesome title! The title you give will show up in the player on your blog. Give it something informative, or give it something mysterious and surprise listeners.

Titles are completely optional but we recommend giving one for the benefit of your visitors.

If you accidentally misspell your title, don’t worry! By creating an optional free account, you can go back and retitle previous recordings. You can also delete them, sort through them, and reshare them wherever you want.

Give your recording a title
Click "embed"

Step 3: Copy embed code

Click “EMBED” to automatically copy your embed code. This code is all you need. It’s HTML and contains the audio link as well as the player code. All you need to do with this code is paste it into your blog.

Step 4: Embed audio in blog

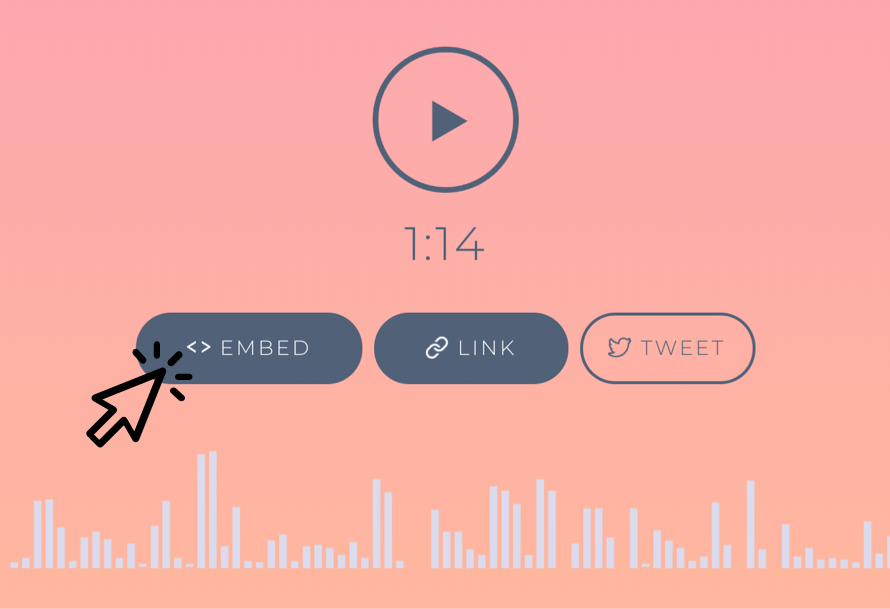
Paste the embed code! This code works with every content management system.

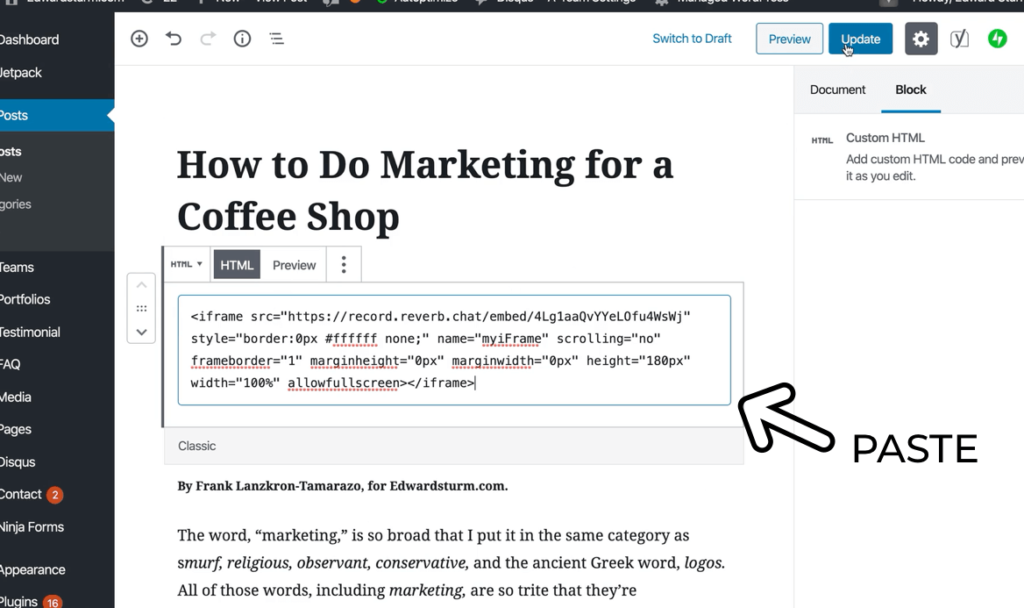
If you’re using WordPress, instead of clicking “Visual” in your editor, click “Text.” You can paste the code here.

If you’re using a done-for-you solution like Squarespace, Wix, a WordPress page builder (such as Elementor or WPBakery), Tumblr, Blogger, or Shopify, you’ll be able to get an HTML Block or Code Block to put in. Put in the block and paste the embed code!

You can also use your code to embed audio in Joomla, Drupal, Magento, Bitrix, Prestashop, and all other website builders. You can even use the code if you’ve built your own site from scratch!

Paste the embed code into your blog
Paste your embed code and your audio plays instantly

Step 5: You’re done!

Click save or update on your backend and you’re done. You have successfully embedded audio in your blog!

Now you and your visitors can play your audio wherever it’s embedded. You can use this method on your blog, or on any page on your website. It takes under a minute no matter where you put it.

Your audio is available in all countries and to everybody! The audio is also designed to be super lightweight and load lightning quick.

Optional: Make it even faster with the Chrome Extension

Get the Reverb Record Chrome Extension to make embedding even faster!

With the extension, you no longer have to go to the Reverb Record website to record, title, and copy the embed code. You can do it all on the same page with the extension dropdown.

Watch the video to learn more.

Recording and embedding audio in your blog has never been faster.